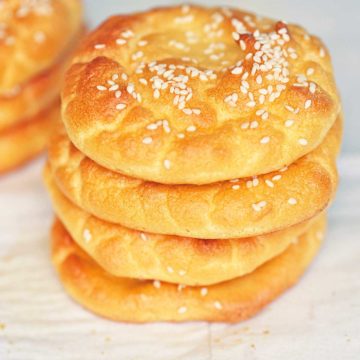
90 second bread is so versatile and the perfect everyday keto bread. It has a lovely spongy texture that readily soaks up butter, sugar-free honey, or jam.
Keto substitutions can mean the difference between sticking with your diet or giving up because you feel deprived. This 90 second bread is one of my favorite keto substitutions. It's made with coconut flour and "baked" in the microwave in just ninety seconds, hence its name. It's quick (much quicker than cloud bread), versatile, and enables you to enjoy bread on the keto diet.
Ingredients
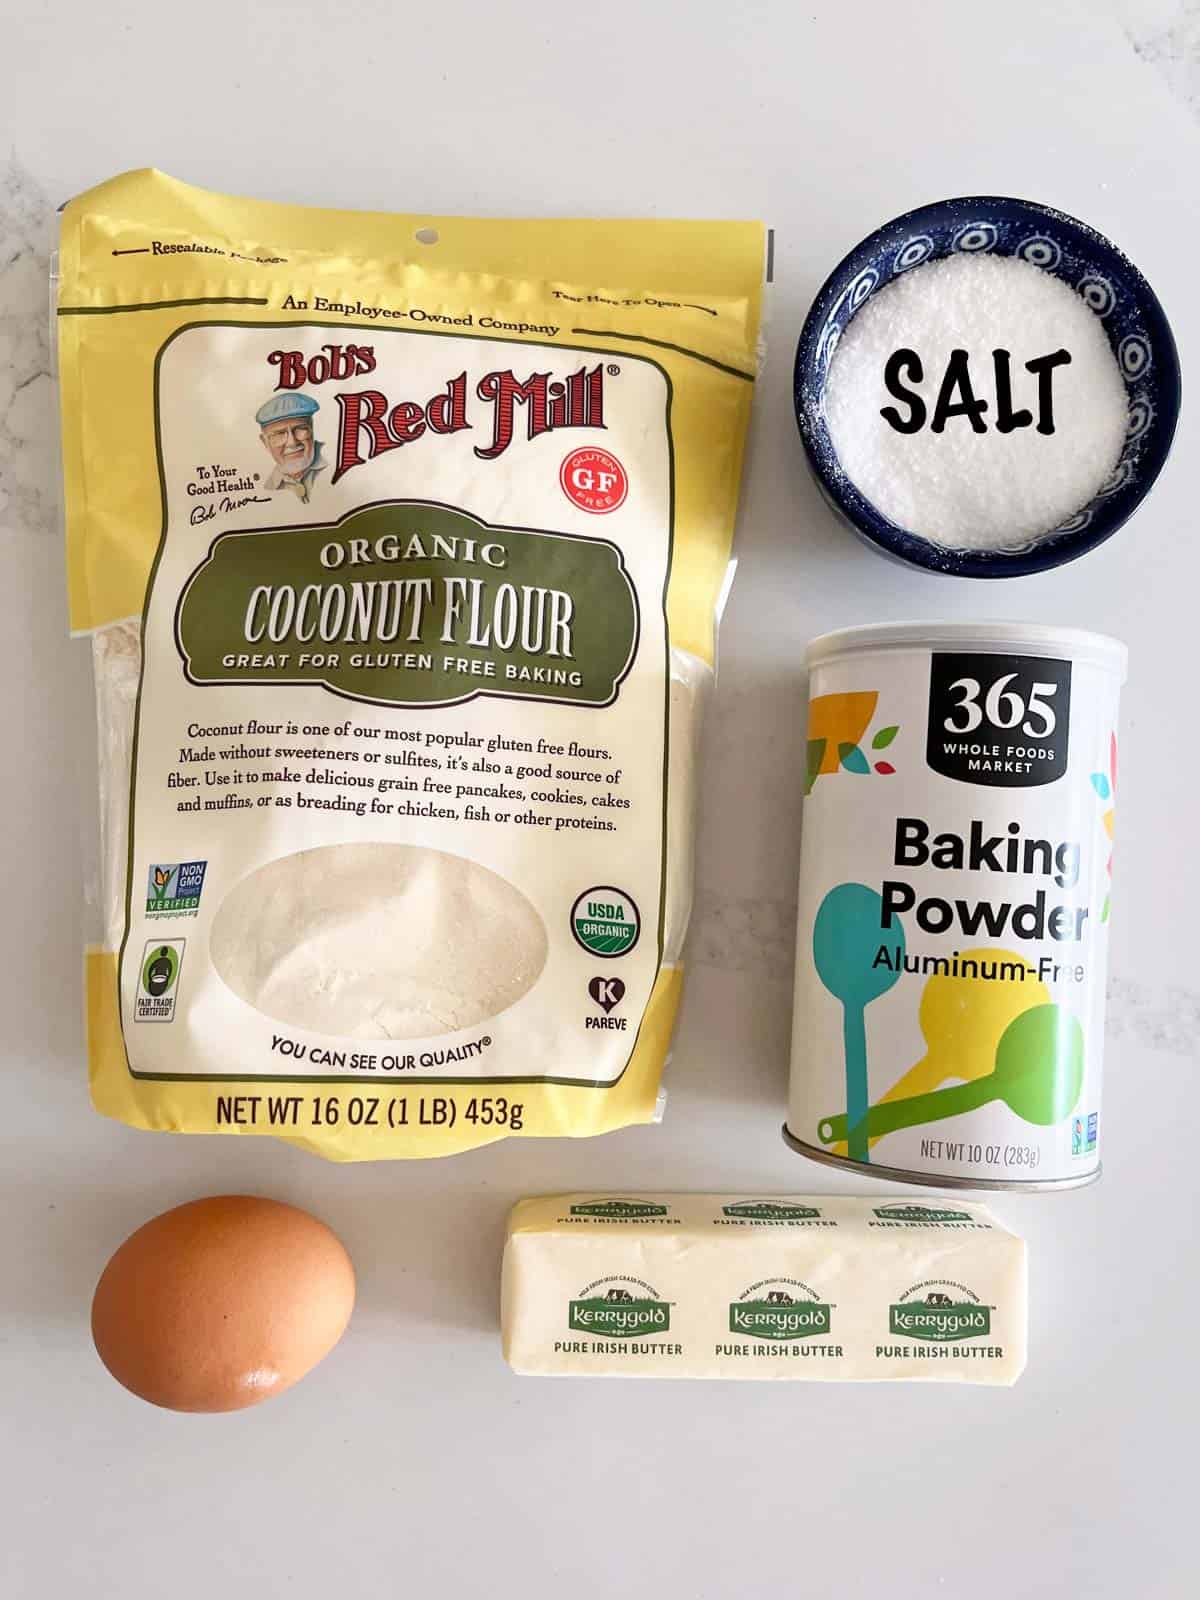
See the recipe card for exact measurements. Here are my comments on some of the ingredients.
- Unsalted butter: It's possible to use mayonnaise or oil instead of butter. But I like the taste of butter.
- Coconut flour: Although it has the potential to be drying, once you get the ratios right, it's an excellent flour to work with and produces fluffy baked goods.
- Baking powder: It helps the bread rise, so please make sure it's fresh and not expired. If you need it to be gluten-free, ensure it is.
Flavor Variations
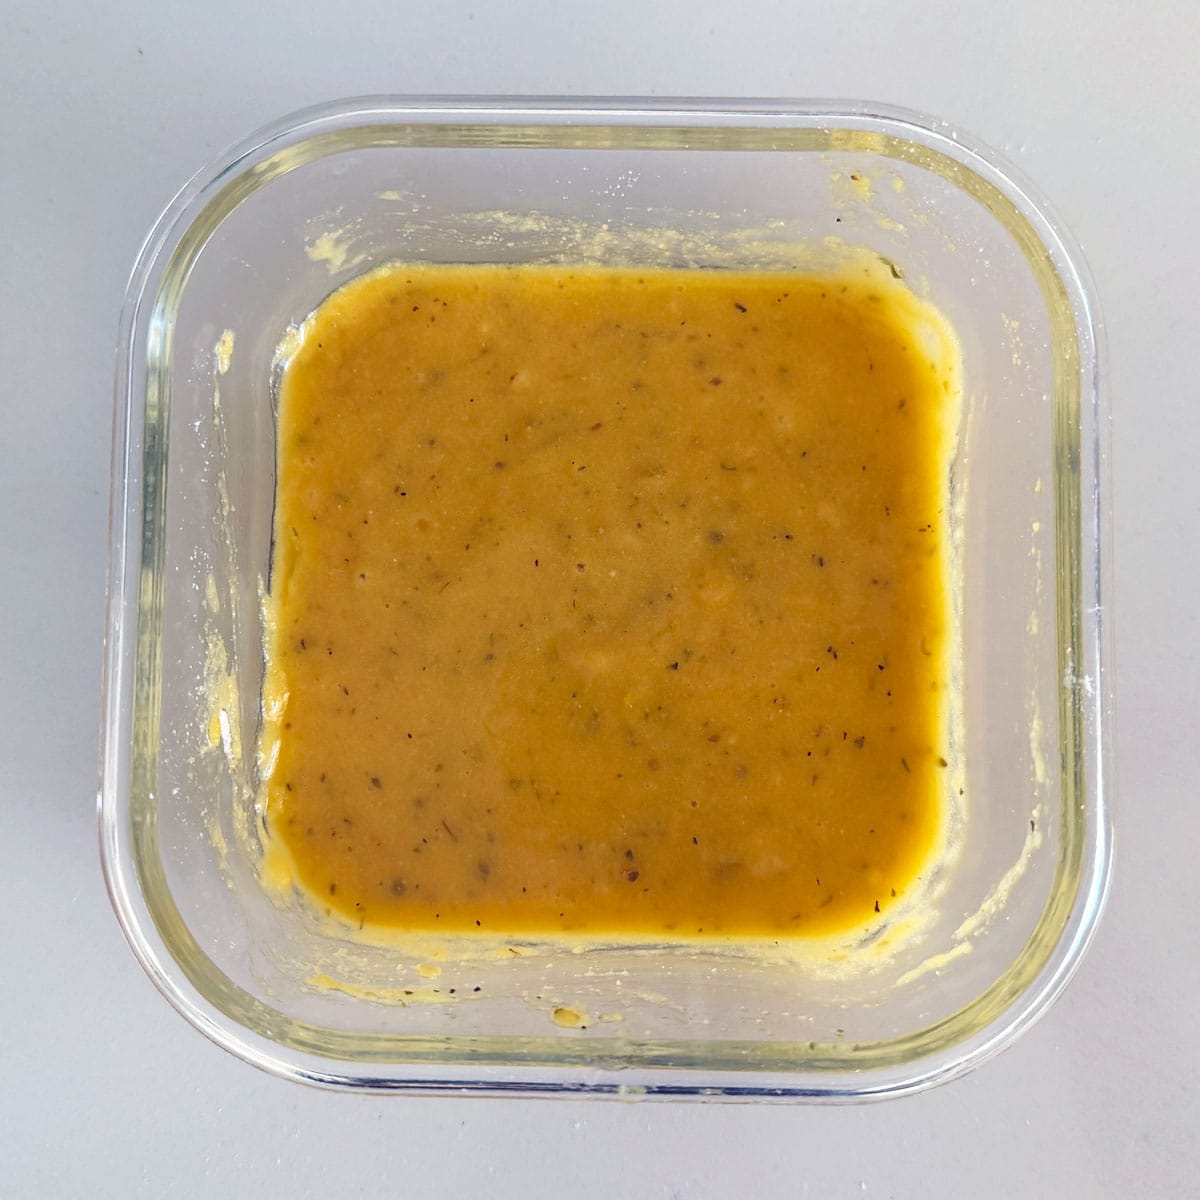
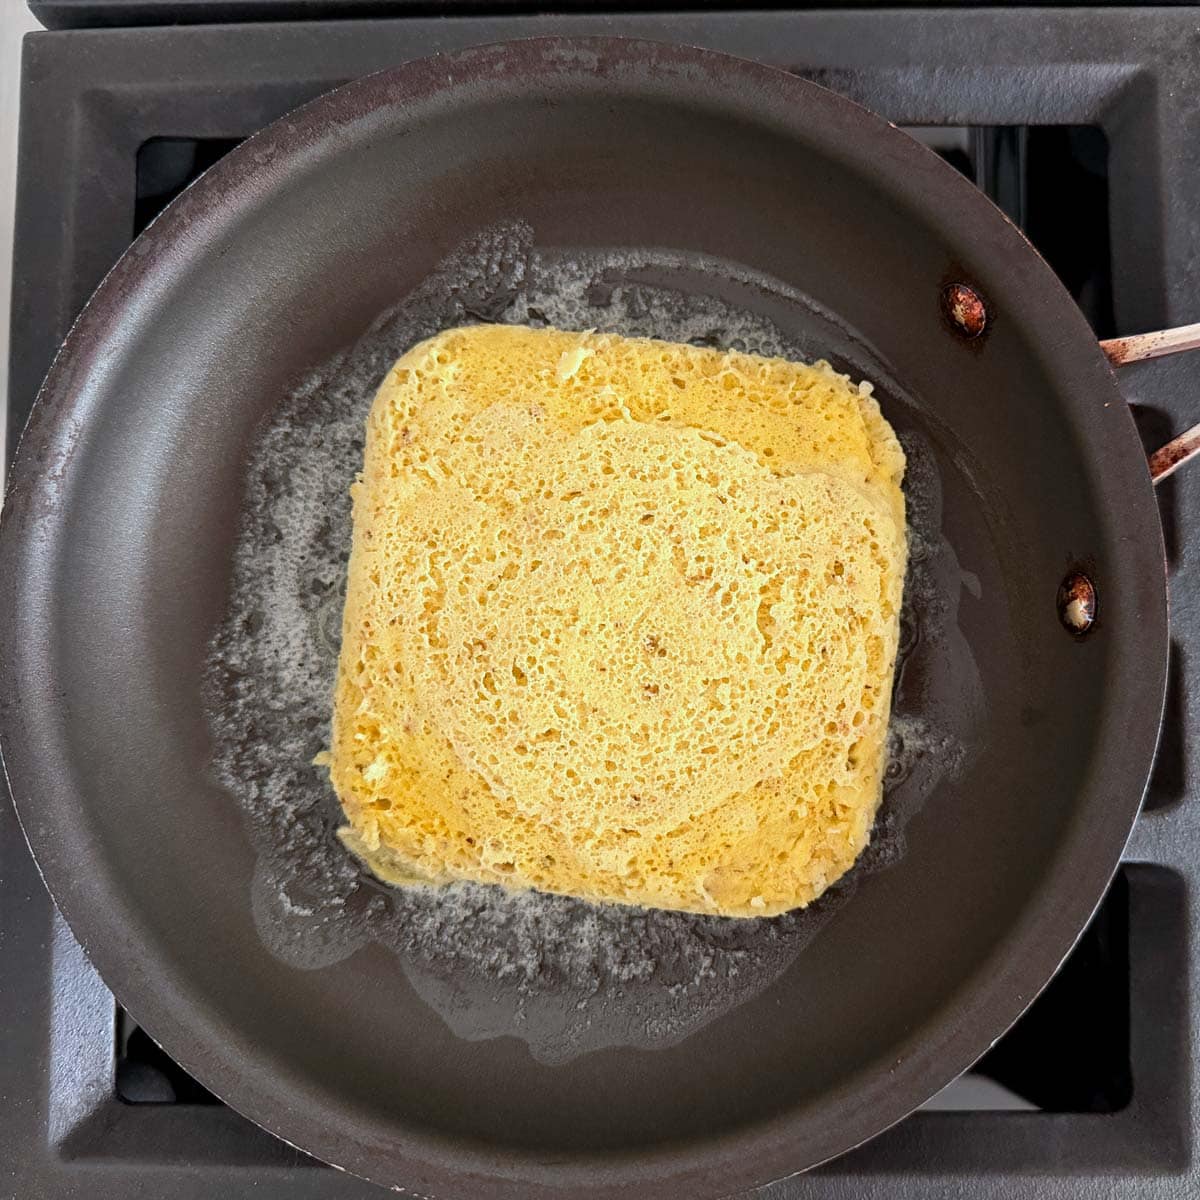
Herb Bread
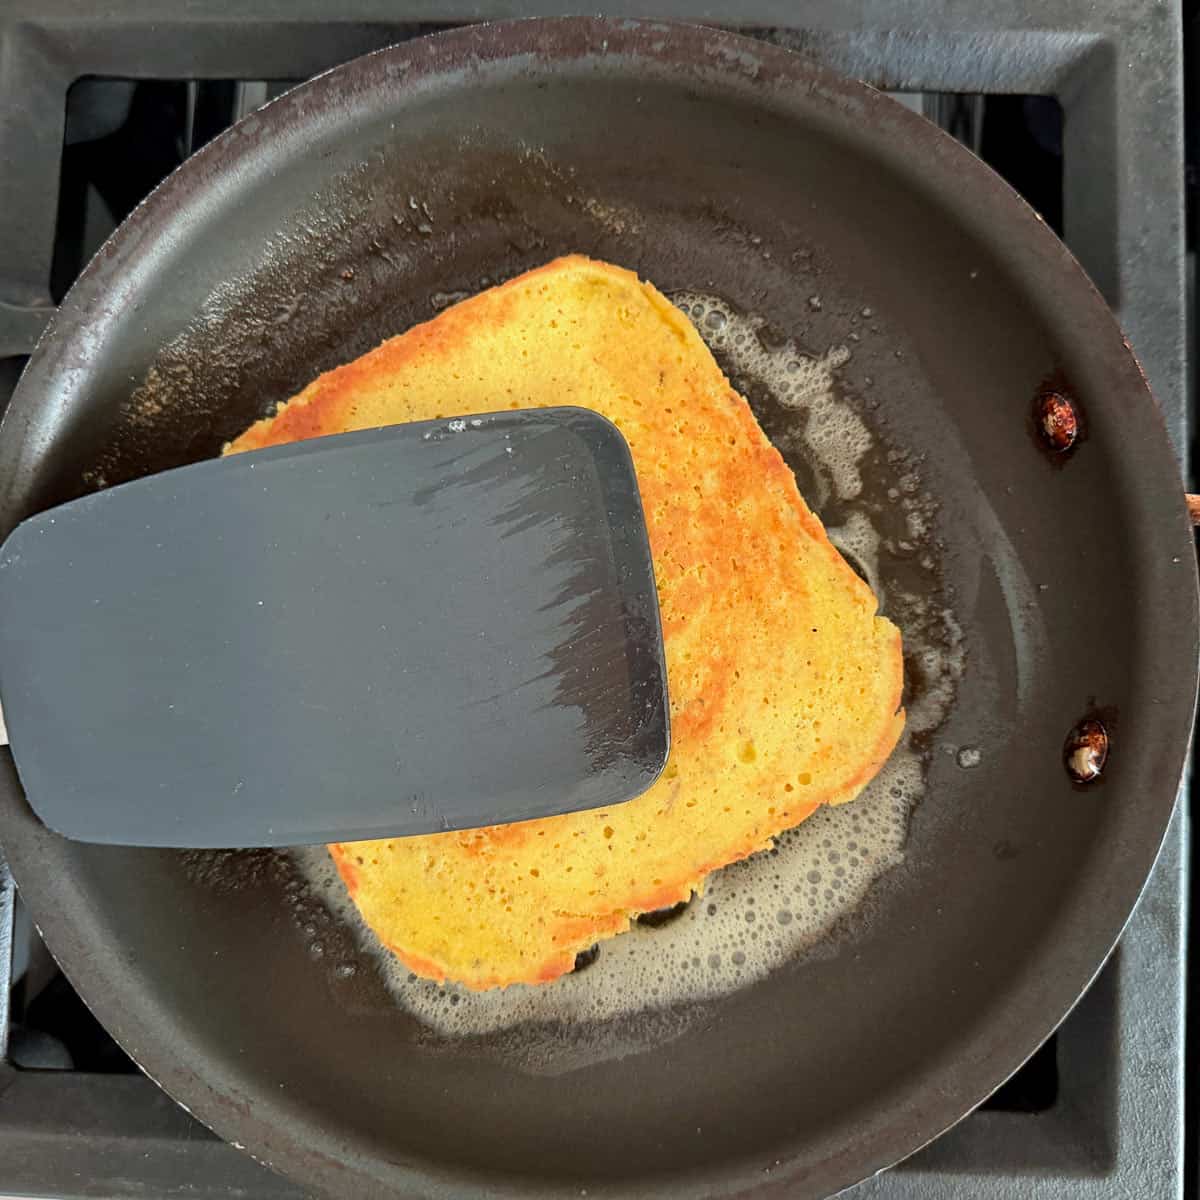
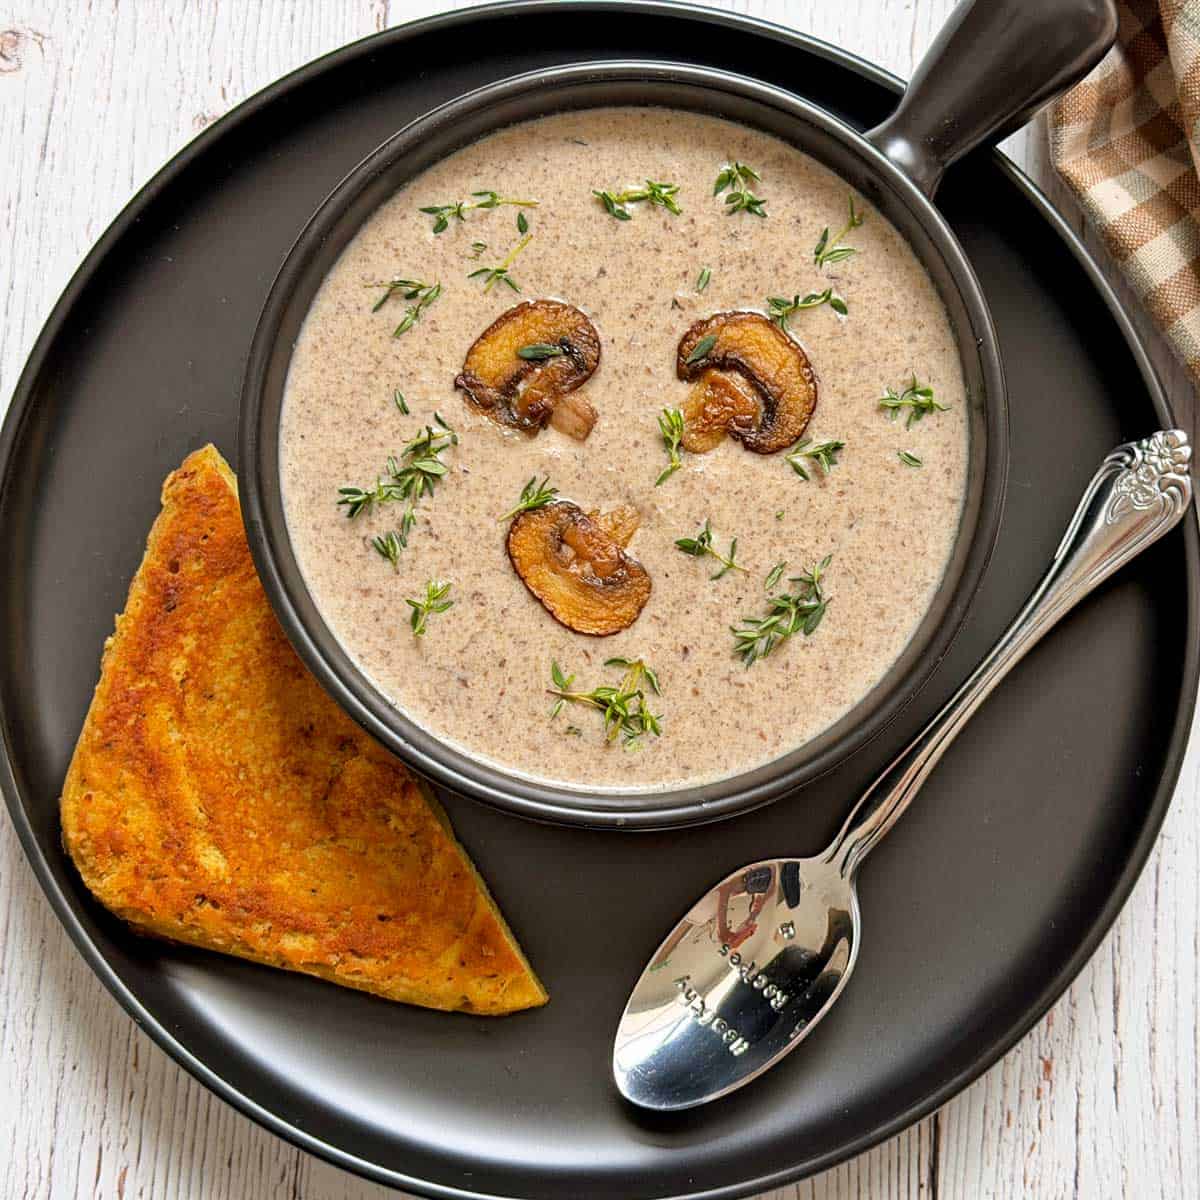
Sometimes, I make an herb bread to serve alongside soup. I double the ingredients and add a pinch of garlic powder, onion powder, and Italian seasonings.
I transfer the mixture to a 5-inch square glass dish and microwave it (in a 1200-watt microwave) for about 2 minutes, until it's set. I release it from the pan, let it slightly cool, toast it in butter, and cut it in half.
The four photos below show the process. The last photo shows the bread served with cream of mushroom soup.
Sweet Bread
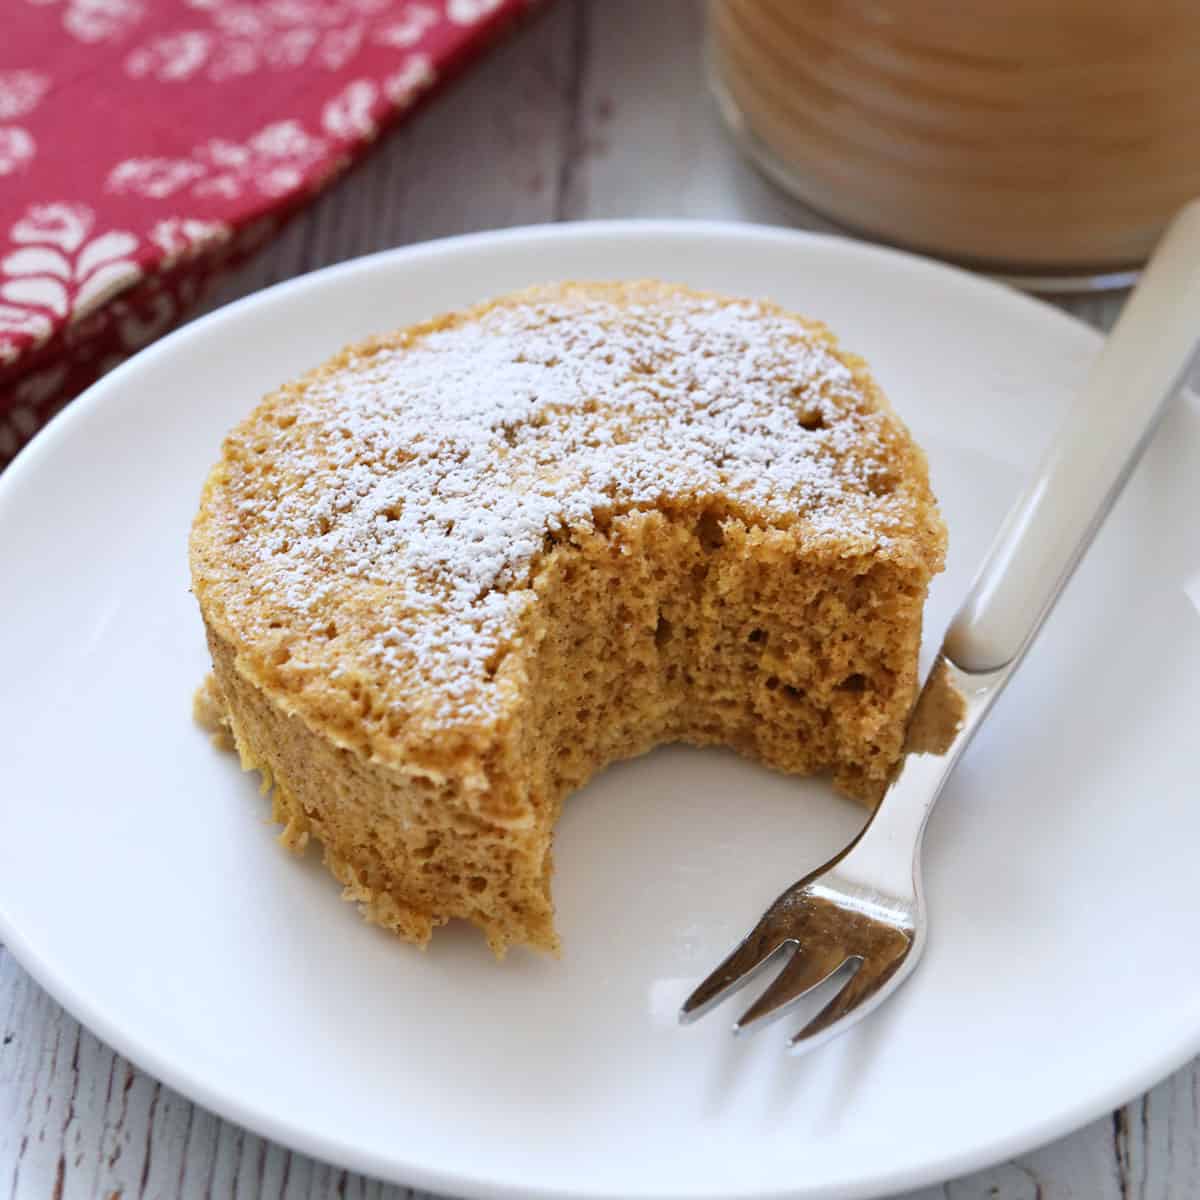
For a sweet version, omit the salt and add ¼ teaspoon each of stevia glycerite (or 1 tablespoon of a granulated sweetener), vanilla, and cinnamon. In fact, the keto mug cake shown below is a sweet variation of this bread!
Instructions
The detailed instructions and step-by-step photos are included in the recipe card. Here's a quick overview.
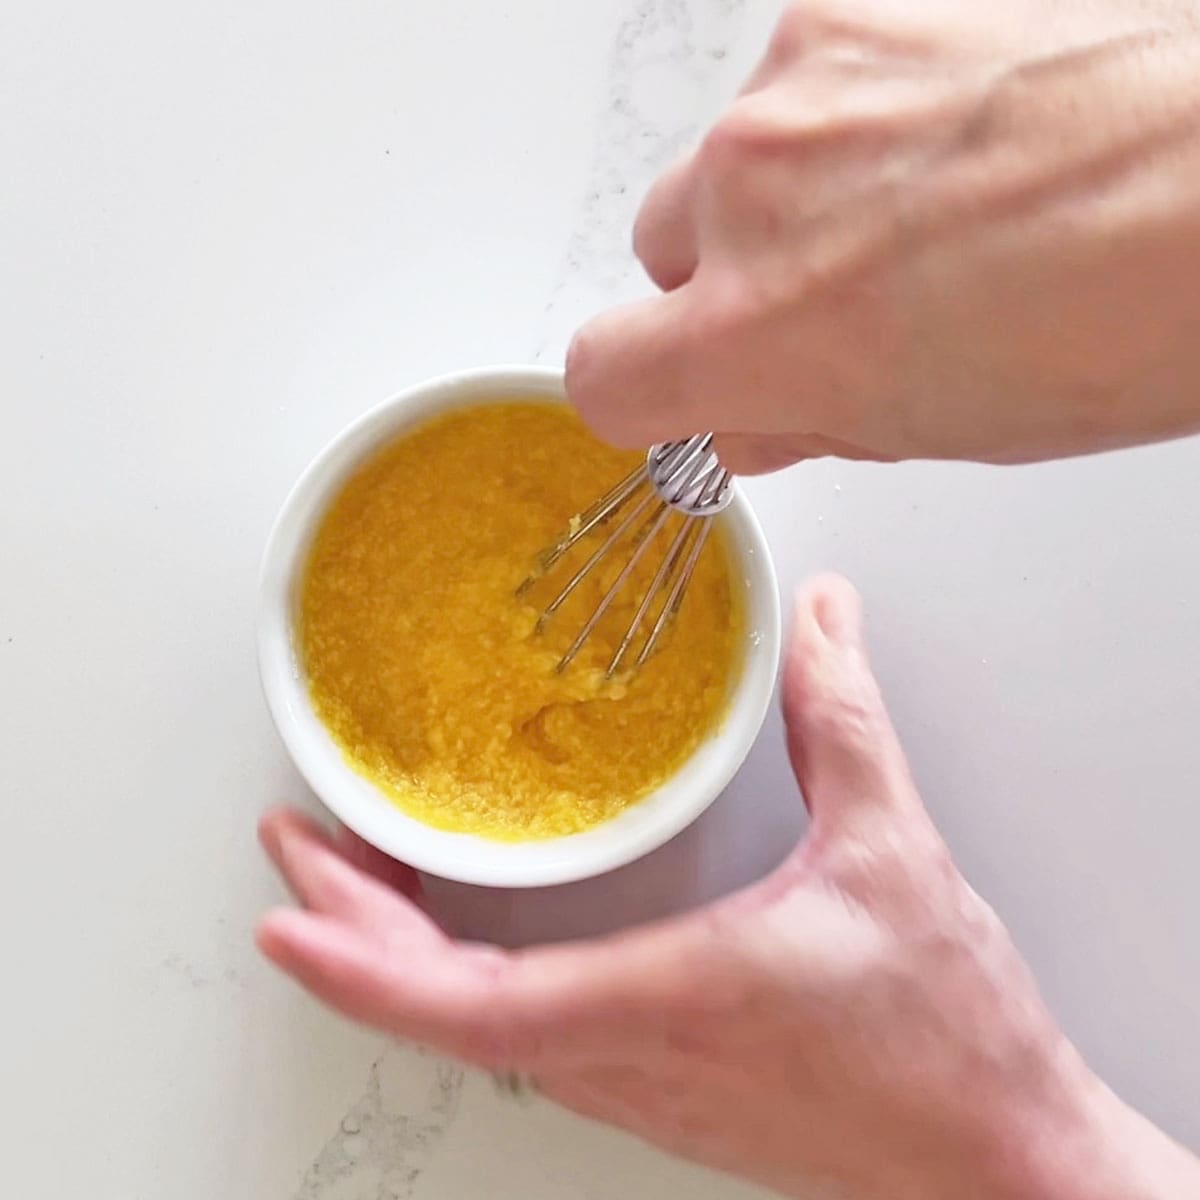
Melt the butter in a small, microwave-safe ramekin. That's the ramekin you'll also use for microwaving the bread. After the butter has slightly cooled, add the remaining ingredients and mix them until smooth. This will require some patience!
Microwave the batter for 70-90 seconds, until puffed and set. Allow the bread to slightly cool, then remove it from the ramekin and slice it into two slices.

Toast the slices in butter or olive oil, top them with your favorite toppings, and serve!
Well, this surprised me. What a clever little recipe. Made 2 for breakfast this morning and tried it as is and toasted. Probably make a good burger. Might try that in a couple of days.
Alma
Read more comments
Recipe Tips
- The 90-second rule works in standard 1000-watt microwaves. But in powerful 1200-watt microwaves, like the one I have in my current house, 70 seconds is enough.
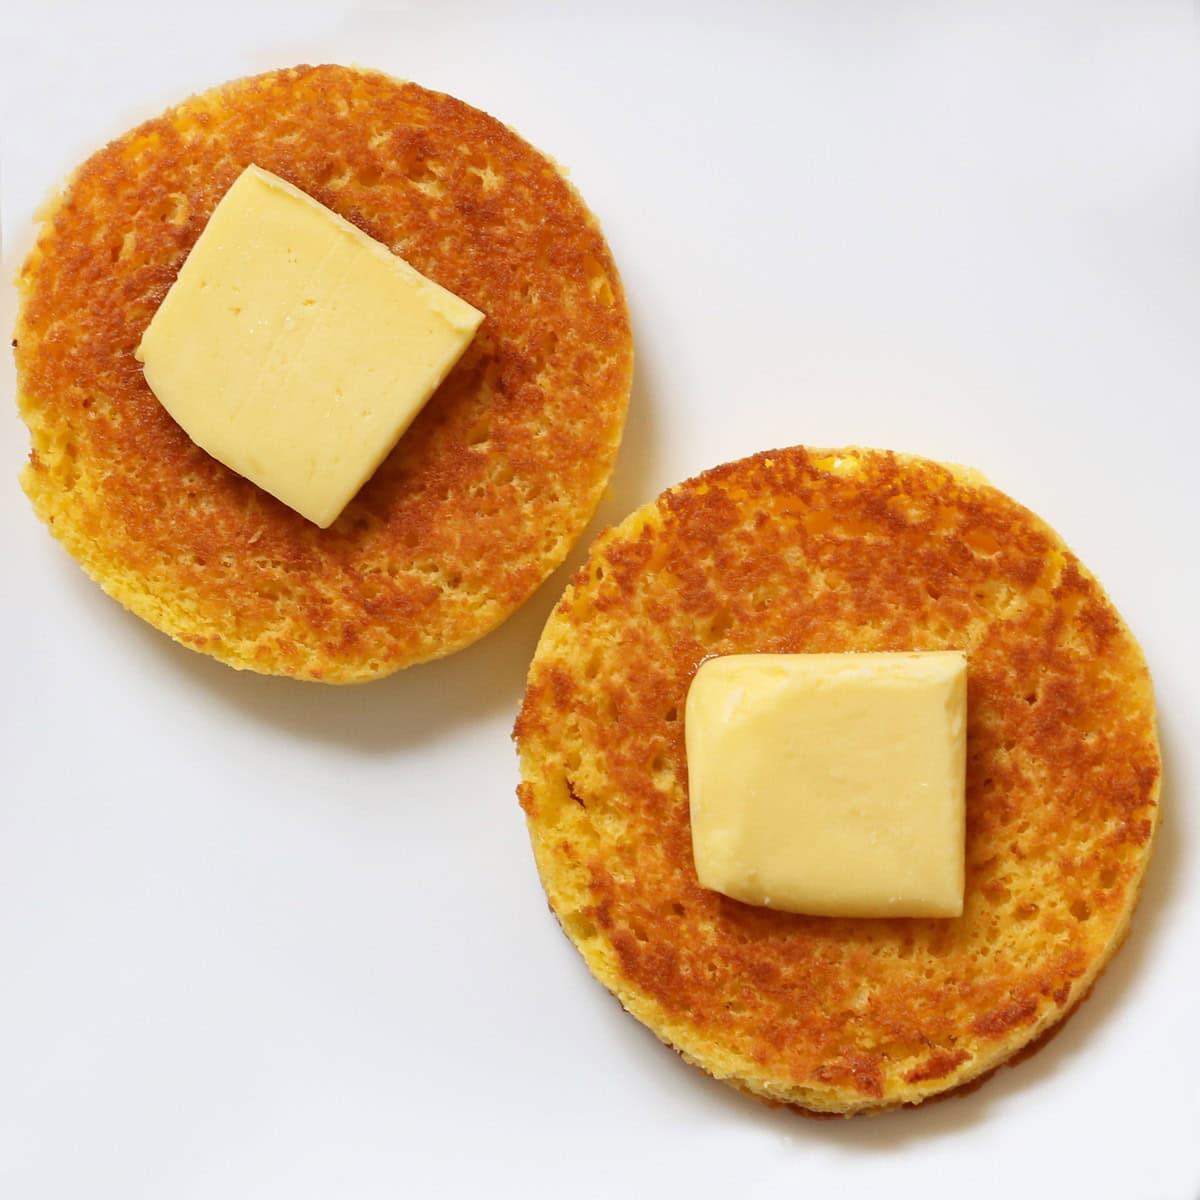
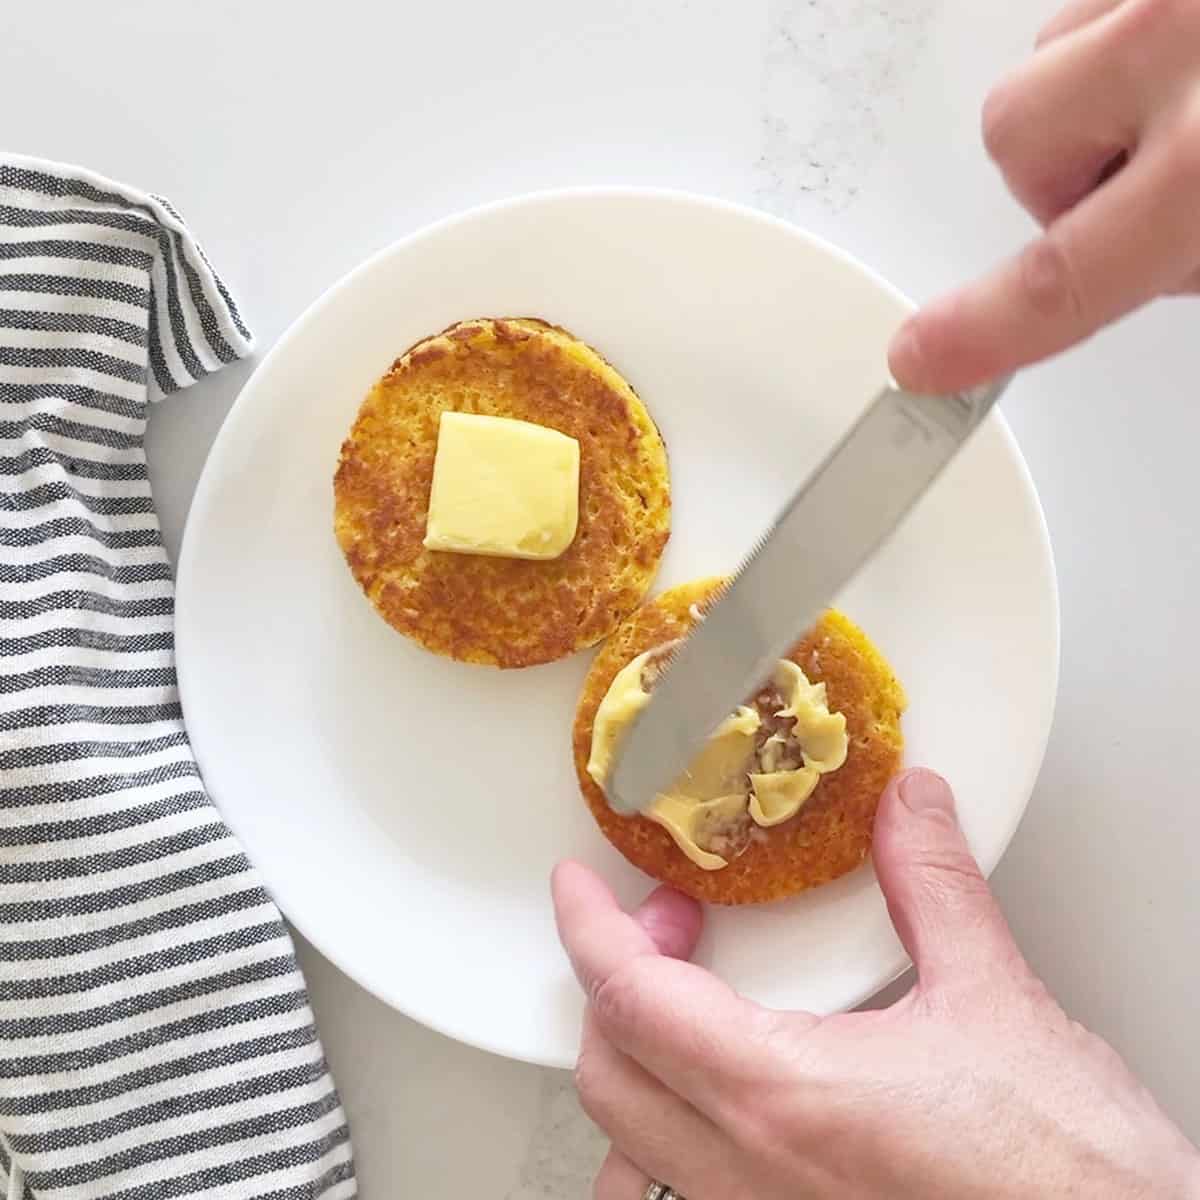
- Toasting the bread in a buttered skillet is not mandatory, but it greatly improves its flavor and texture and makes it very similar to real toast. The photo below shows the bread, untoasted and topped with butter. It's good, but the toasted version is better.

Recipe FAQs
Yes. Mix the batter in an oven-safe ramekin. Bake the bread in an oven preheated to 350°F for about 10 minutes. Check with a toothpick to ensure it's fully baked. Ovens vary, so keep an eye on the bread while it's in the oven. It might take a shorter or longer time to be fully baked.
Not in this recipe. If you prefer to use almond flour, try this recipe for a keto English muffin, another quick, low-carb bread you can make in the microwave.
No. Remember that this is not wheat bread. It's soft and a little eggy. But if you're trying to limit your carb intake, it adds a nice variety to breakfast and lunch. It tastes much better and much more like real bread if you toast it in a buttered skillet after it's ready.
Slice each piece of bread crosswise into two slices and allow the slices to cool completely. Then, place them in an airtight container in the fridge for up to four days. When ready to use, toast the leftover slices in butter or olive oil in a skillet.
You can also freeze slices of the completely cooled bread. Use your toaster on the lowest setting to defrost and toast them.
Serving Suggestions
90 second bread has a neutral flavor and a spongy texture, perfect for butter, sugar-free honey, or jam, so it works well for a quick, low-carb breakfast.
It's also good topped with peanut butter, cream cheese and smoked salmon, or Dijon mustard and ham. I also enjoy it with pimento cheese, crab salad, and salmon salad. It's wonderful with Shakshuka!
The two photos below show the untoasted version topped with cheese, salami, and an egg, and the toasted version topped with egg salad.


Recipe Card

90 Second Keto Bread
Video
Ingredients
- 1 tablespoon unsalted butter - if using salted, omit the salt
- ⅛ teaspoon salt
- 1 large egg
- 1 tablespoon coconut flour - a level (not heaping) measuring tablespoon, 7 grams
- ¼ teaspoon baking powder - gluten-free if needed
For Toasting the Bread:
- 1 teaspoon olive oil
Instructions
- In a small, microwave-safe bowl or ramekin (mine measures 3 inches on the bottom and 3.5 inches at the top), melt the butter in the microwave.1 tablespoon unsalted butter

- Allow the melted butter to slightly cool, and then mix in the salt, egg, coconut flour, and baking powder. Keep mixing patiently until smooth. A mini hand whisk is helpful at this stage.⅛ teaspoon salt, 1 large egg, 1 tablespoon coconut flour, ¼ teaspoon baking powder

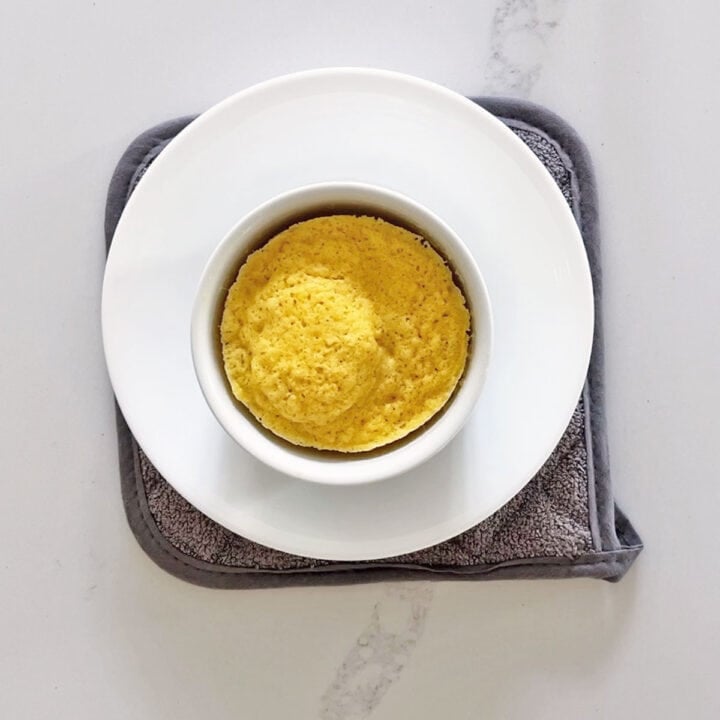
- Microwave the mixture on high for 70-90 seconds (see notes below). The bread will puff up while "baking" and then slightly deflate. When done, it will look like a muffin. Check with a toothpick to make sure it's fully baked. Take care when removing it from the microwave. The ramekin will be hot. Use oven mitts and place the ramekin on a heatproof trivet.
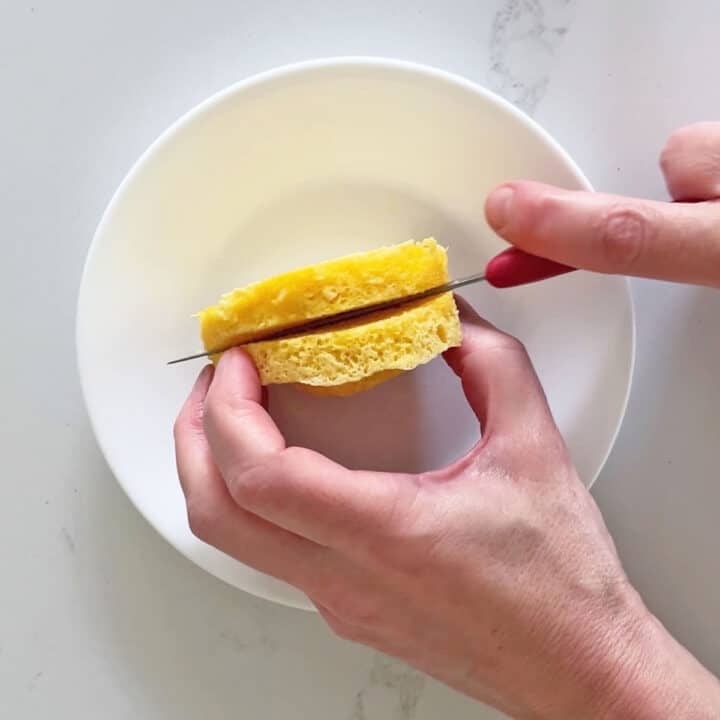
- Let the bread cool slightly for a minute or so. Then, gently, with a paring knife, loosen the edges and remove the bread from the ramekin onto a plate and slice it crosswise into two slices.
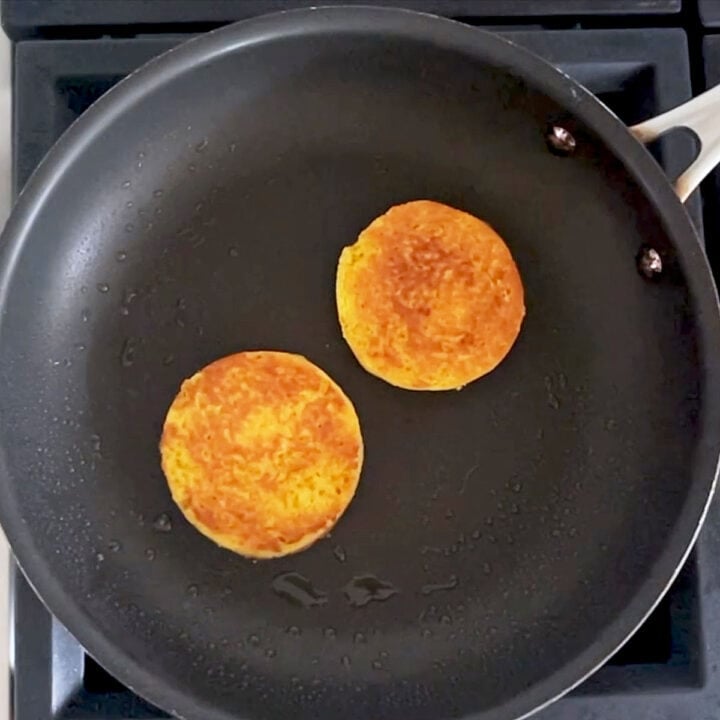
- Heat a nonstick skillet over medium-low heat. Add a teaspoon of butter or olive oil and brush to coat. Add the bread slices. Toast them until golden-brown, for about 2 minutes per side.1 teaspoon olive oil
- Top the bread with your favorite toppings and serve.

Notes
- Seasonings, especially salt, are guidelines. Adjust to taste.
- The 90-second rule works in standard 1000-watt microwaves. But in powerful 1200-watt microwaves, like the one I have in my current house, 70 seconds should be enough.
- The cooking time can also vary depending on how shallow your bowl/ramekin is and on whether you measured the coconut flour accurately. So, it's a good idea to start with 70 seconds. You can always add 10-20 more seconds if the batter is still wet, but you can't fix dry bread.
- To make this bread in the oven, mix the batter in an oven-safe ramekin. Bake the bread in an oven preheated to 350°F for about 10 minutes. Check with a toothpick to ensure it's fully baked. Ovens vary, so keep an eye on the bread. It might take a shorter or longer time to be fully baked.
- Toasting the bread in a skillet greatly improves its flavor and texture, but it is not mandatory. I like its soft texture when it's not toasted.
- To keep the leftovers, slice each piece of bread crosswise into two slices and allow the slices to cool completely. Then, place them in an airtight container in the fridge for up to four days. When ready to use, toast the leftover slices in butter or olive oil in a skillet.
- You can also freeze slices of the completely cooled bread. Microwave them frozen to defrost, or use your toaster on the lowest setting.
Nutrition per Serving
Save this Recipe!
We will also add you to our weekly newsletter. Unsubscribe anytime. See healthyrecipesblogs.com/privacy/ to learn how we use your email.
Disclaimers
Most recipes are low-carb and gluten-free, but some are not. Recommended products are not guaranteed to be gluten-free. Nutrition info is approximate - please verify it. The carb count excludes non-nutritive sweeteners. Please read these Terms of Use before using any of my recipes.


Ruth says
So happy with this recipe--it doesn't get any easier and it really came out delicious. I was afraid it would have an "eggy" texture, but it didn't. I sliced it, toasted it, and made a breakfast sandwich. Yum! I will be trying it as a hamburger bun later this week! Thank you for posting.
Vered DeLeeuw says
You're very welcome, Ruth! I'm so glad you liked this bread.
Kelli Paulk says
Came out perfect and was delicious! This will be my new go-to for sandwiches. Thank you for sharing!
Vered DeLeeuw says
Wonderful, Kelli! I'm o glad you enjoyed this bread. Thank you for the review.
Diane S. says
Has anyone tried to making this substituting a flax seed egg?
Alma says
Well, this surprised me. What a clever little recipe. Made 2 for breakfast this morning and tried it as is and toasted. Probably make a good burger. Might try that in a couple of days.
Vered DeLeeuw says
I'm so glad you enjoyed this bread, Alma. You can definitely use it as a burger bun!
Elliott Pacetti says
Thank you for this recipe! I made a test run today and found it dry until I browned it a little in butter, and wow! Have you tried making it in advance and storing it in the refrigerator? Then maybe brown it on use? I’d imagine that it should keep a 3 or 4 days? Would love to hear thoughts!
Vered DeLeeuw says
Hi Elliott,
I'm so glad you enjoyed this bread!
If it was dry before toasting, you could try microwaving it for just 80 seconds and see if it becomes fully "baked." However, toasting in butter is always recommended.
To keep the leftovers, slice each piece of bread crosswise into two slices and allow the slices to cool completely. Then, place them in an airtight container in the fridge for up to four days. When ready to use, skillet-toast the leftover slices in butter or olive oil.
Garland says
This was great. Incredibly easy and worked exactly as described. I made a bacon egg and cheese sandwich with it and put sugar free maple syrup on the "bread." It was like a knock off McGriddle!
Vered DeLeeuw says
Yum! Your breakfast sandwich sounds amazing.
Thanks for the review!
Anton says
I followed the recipe exactly as written along with the guidance of the associated YouTube video https://youtu.be/rOW-Iu9kTyg?si=Or3P47yuOpiZl81E . Knowing that all microwaves are different I cooked the "bread" for only 80 seconds. I released easily from the 2 cup round glass dish I used and I let if rest on a cooling rack. It sliced in half easily and I broiled it on each side until browned. The "toasted" end product looked like a delicious English muffin. The taste test did not disappoint either; great texture, and flavor (smelled eggy in microwave but once broiled no more smell). Thank you Vered ... I am very grateful for this easy bread for so many potential uses!!!
Vered DeLeeuw says
You're very welcome, Anton! Glad you liked it.
Laura says
Thank you for this. I used to make 90 second bread with almond flour, but I can't eat almond flour anymore. I think I like this 90 second bread even better. It turned out perfectly!
Vered DeLeeuw says
You're very welcome, Laura! 🙂
Naomi says
I’ve eaten this delicious bread for breakfast for the past three years. I don't toast it! I love its texture right out of the microwave. I top it with peanut or almond butter.
Vered DeLeeuw says
I'm so glad you like this bread, Naomi! Thank you for sharing your experience.
Lori says
I tried this recipe today.. but didn't find it to be very good..is it supposed to be dry?
I am not experienced with using Coconut flour, so am trying to work out why?
I have a recipe that combines Coconut and Tapioca flours, that the end product is similar to Almond Flour.. and I would like to achieve a similar outcome..
I will keep trying..
Vered DeLeeuw says
Hi Lori,
Sorry about that! No, it's not supposed to be dry. Let's troubleshoot. Did you use a level (not heaping) measuring tablepsoon? Coconut flour is extremely drying, so each extra gram makes a difference. It's also possible that in your microwave, 90 seconds is too much.